
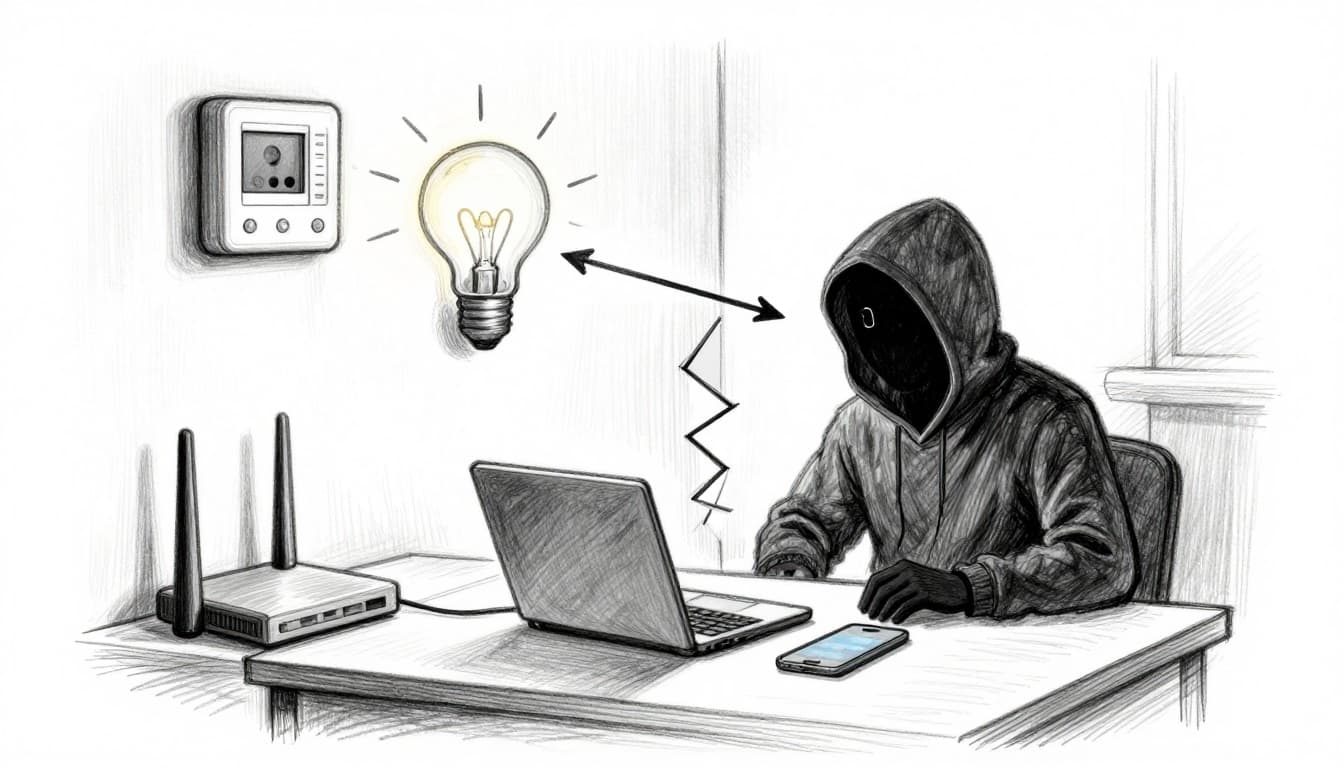
One week, everything feels fine. Then a smart camera app starts acting weird, a phone gets weird popups, and you realize one cheap gadget can touch your whole home network.
That’s not a scary movie plot. It happens because many IoT devices get poor security by default. They ship with weak settings, older software, or both. If they get compromised, attackers can use them as a stepping stone into your main Wi-Fi.
The good news: isolating IoT devices on a separate network is one of the simplest fixes you can do at home. In most 2026 router setups, you can create an IoT-only guest network that lets smart devices reach the internet, but blocks them from seeing your laptops, phones, and NAS.
This guide walks you through the practical choices first, then gives you a clear setup path. You’ll learn the real risks, how to pick between guest Wi-Fi, VLANs, or a separate router, and how to test your setup. Most people can finish the guest-network version in under an hour, even if you’re not a networking person.
Why Isolate Your Smart Devices Before It’s Too Late
Most home networks are flat. That means your smart bulbs, cameras, and plugs sit on the same “neighborhood” as your laptop.
If one IoT device gets hacked, the attacker can try to move sideways. They look for weak passwords, unpatched services, or open ports. From there, they may steal data, spy on streams, or help run a botnet.
Recent reporting shows how common this is. For example, average US smart home households faced 29 cyber attacks every day in 2025, and the number kept rising into early 2026. That matches what many security teams warn about: IoT devices often can’t defend themselves, so the network needs to do the work. For an overview of ongoing IoT threats and patterns, see IoT security risks in 2026.
Here’s what usually goes wrong:
- Old or unpatched software: Many hacks start with known flaws.
- Default or reused passwords: Attackers try common logins first.
- Weak device authentication: Some devices expose services too easily.
- No traffic limits inside the home: Without isolation, a compromised device can scan the rest of your LAN.
Isolation cuts this chain. When you put IoT devices on a guest Wi-Fi or a separate VLAN, you change the rules. They can still reach cloud services for apps, but they can’t freely talk to your main devices.
Bottom line: Segmentation stops “lateral movement” inside your home network.
Pick the Right Isolation Method for Your Home Setup
Before you change anything, pick the method that fits your router and your comfort level. Most homes only need one strong option: a guest network for IoT. Advanced users add VLANs for tighter control.
Here’s a quick comparison:
| Method | Pros | Cons | Best for |
|---|---|---|---|
| Guest Network (IoT-only SSID) | Fast setup, usually free in the router UI | Devices may still talk to each other unless isolation is on | Beginners and busy households |
| VLANs (IoT VLAN + firewall rules) | Strong separation, flexible policies | Needs router and switch support, more setup | Tech-savvy users with supported gear |
| Separate Router for IoT | Simple mental model, very hard to mix networks | Extra hardware and some wiring | People who want maximum separation |
Also, remember what “isolation” really means. You want IoT to reach the internet (for app updates and cloud control). You want it blocked from your main network (for files, printers, and your laptop).
Guest Networks: The Quick Win for Beginners
If your router has Guest Network or IoT Network, start here. It’s the most common way to isolating IoT devices on guest network without extra gear. Most routers let you turn on AP isolation or guest isolation, which prevents devices in that Wi-Fi from directly talking to each other.
If you’ve ever thought, “I just don’t want my smart bulbs on my main Wi-Fi,” you’re not alone. This is the approach explained in Stop connecting smart bulbs to your main Wi-Fi.
One caution: some IoT setups expect local control. For example, certain ecosystems use local discovery. If isolation breaks those features, you can loosen rules later. Start strict, then adjust.
VLANs: Bulletproof Separation for Tech-Savvy Users
VLANs let you create mini-networks on the same physical router and switch. Then you control traffic with firewall rules. So your IoT VLAN can reach the internet, but it can’t reach your main LAN.
This works best when your router and access points support VLAN tagging (often called 802.1Q). If your router is consumer-grade, VLANs may not exist, or they may need custom firmware. That’s why VLAN setup feels “advanced” in 2026.
When VLANs work, you get clearer boundaries than guest Wi-Fi. You can also keep IoT devices separated from each other while still allowing what you choose.
Separate Routers: Old-School Reliability
Using a spare router for IoT can be surprisingly effective. Your main router stays clean. Your IoT router becomes the only place those devices live.
Pros: setup is easy, rules are obvious, and mixing is less likely. Cons: you’ll manage extra cables and settings. Also, some mesh Wi-Fi setups may not cooperate smoothly with a two-router design.
Step-by-Step: Set Up Your IoT-Only Guest Network
Most people will finish this version today. Follow these steps, and you’ll have an IoT-only network that blocks access to your main devices.

- Log into your router admin page.
Common options include192.168.1.1,192.168.0.1,routerlogin.net, orhttp://tplinkwifi.net. - Change your router admin password first.
Use a strong, unique password. Don’t leave it as the default. - Find Guest Network or IoT Network.
Look under Wireless, Guest, or Advanced settings. - Create a new Wi-Fi name (SSID).
Use something clear like IoT-Only or Guest-IoT. - Turn on the guest feature for 2.4 GHz (and 5 GHz if offered).
Many IoT devices work best on 2.4 GHz. - Set strong Wi-Fi security.
Choose WPA2-Personal or WPA3 if available. Add a strong password. - Enable isolation features.
Turn on Guest isolation or AP isolation. Also look for a setting like “allow guests to access local network” and keep it OFF. - Save settings and reboot if the router asks.
Some routers apply guest isolation only after a restart. - Reconnect your IoT devices to the new SSID.
Update Wi-Fi settings inside each device app. Then try one device at a time. - Test isolation (quick check).
From your phone on main Wi-Fi, try to see IoT devices. They should not appear.
If your router exposes stats, confirm the IoT clients moved into the guest group.
If you want a second reference while you click through menus, this walkthrough is helpful: Setting up a guest network for smart home devices.
What if an IoT app needs cloud access?
Good news: guest networks still allow internet access by design. Most devices can authenticate and update through the maker’s cloud.
If you use a setup that depends on local discovery, isolation might block it. In that case, adjust only what you must, like allowing specific local traffic. Don’t remove isolation for everything.
Common problems (and fast fixes)
- IoT device won’t connect: try 2.4 GHz only, and double-check the Wi-Fi security type.
- Apps can’t find the device: restart the device after it joins IoT-Only.
- Device stops working after isolation: that device likely needs local access. Adjust per-device rules, not the whole network.
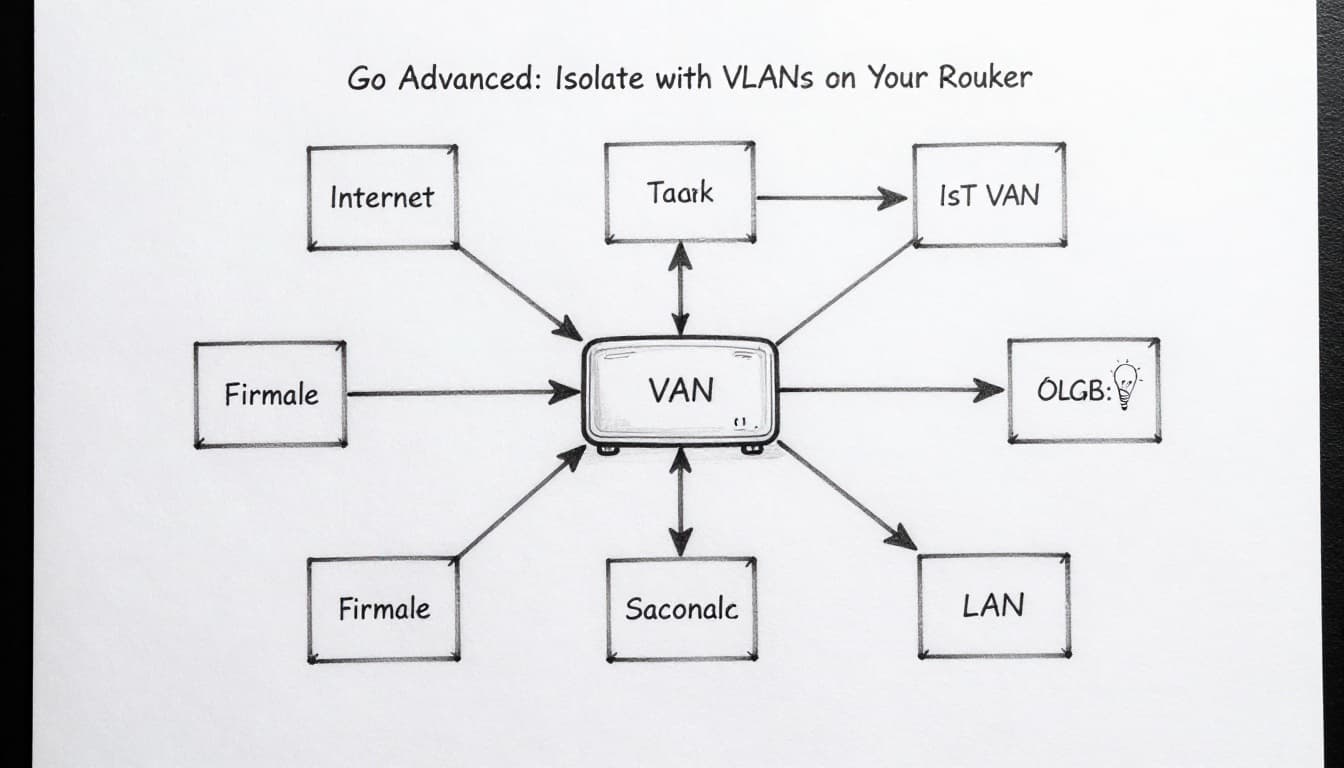
Go Advanced: Isolate with VLANs on Your Router
If your router supports VLANs, you can create a dedicated IoT VLAN and lock it down with firewall rules.
A typical plan looks like this:
- Log into your router admin page.
Find VLAN, Advanced Network, or VLAN/Bridge settings. - Create an IoT VLAN (example: VLAN 10).
Pick an unused VLAN ID, like 10. Some ecosystems use 20, but any unused ID can work. - Assign which ports or Wi-Fi SSIDs use the IoT VLAN.
For wired IoT, tag or set the specific LAN port. For Wi-Fi, create an SSID like IoT-Only and bind it to VLAN 10. - Set up a firewall rule set.
Allow IoT VLAN to reach the internet. Block IoT VLAN from reaching your main LAN (your usual LAN IP range). - Test with one device.
Confirm internet access first. Then check that IoT devices can’t reach your laptop.
If you want a deeper walkthrough for a home VLAN build, see IoT VLAN setup home network guide.
When VLANs might not be worth it
If your gear doesn’t support VLAN tagging, you’ll end up in workarounds. For many homes, guest Wi-Fi isolation already delivers strong protection. Use VLANs when you have supported hardware (router plus access point, and often a managed switch).
Gotcha: VLANs are powerful, but misconfigured firewall rules can break device setup. Start with one device, not the whole house.
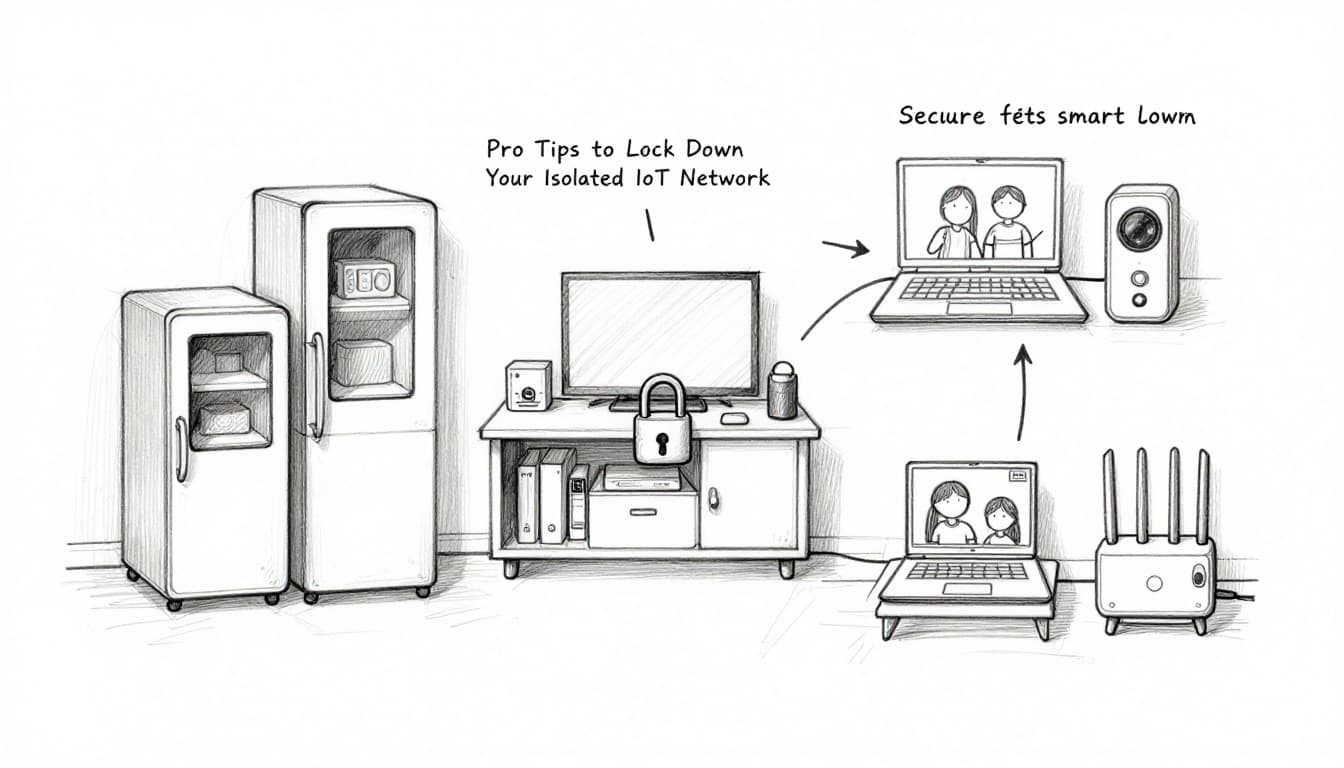
Pro Tips to Lock Down Your Isolated IoT Network
Isolation is the foundation. These extra steps tighten the bolts.
- Update firmware often.
Old firmware is a major source of IoT break-ins. Update devices and your router. - Change default passwords and usernames.
Use unique passwords for each device. Reuse is a weak point. - Enable router multi-factor authentication if you can.
Protect your admin login, not just Wi-Fi access. - Keep an eye on what connects.
If your router has client lists or logs, review them once a week. - Use WPA3 when it’s available.
Stronger Wi-Fi security reduces the chance of easy interception. - Plan for 2026 device life.
Buy from makers with update histories. When a device stops getting updates, isolate it tighter or replace it.
Conclusion
Your home network doesn’t have to be “all or nothing.” By isolating IoT devices on a separate network, you stop one weak gadget from turning into a doorway.
Start with the quick win: an IoT-only guest Wi-Fi with guest isolation enabled. If you want more control and you have supported gear, move up to VLANs and firewall rules. Either way, you’ll reduce risk today, not after the next scary headline.
Pick the method that fits your setup and do it this week. Then, test it with one device. When your IoT stays on its own lane, your smart home feels calmer, not riskier.
Which devices are you isolating first, your cameras, your plugs, or your smart TV?