Ever have a friend ask for your Wi-Fi, then you worry about what they might connect to? Maybe they’re scrolling on their phone, but your smart home devices sit a few feet away, on the same network.
That’s why a secure guest network matters. It keeps visitors online while blocking them from reaching your files, printers, and cameras. In 2026, the stakes feel higher too, because attacks on Wi-Fi networks get faster, and shared networks make it easier for criminals to intercept or tamper with traffic.
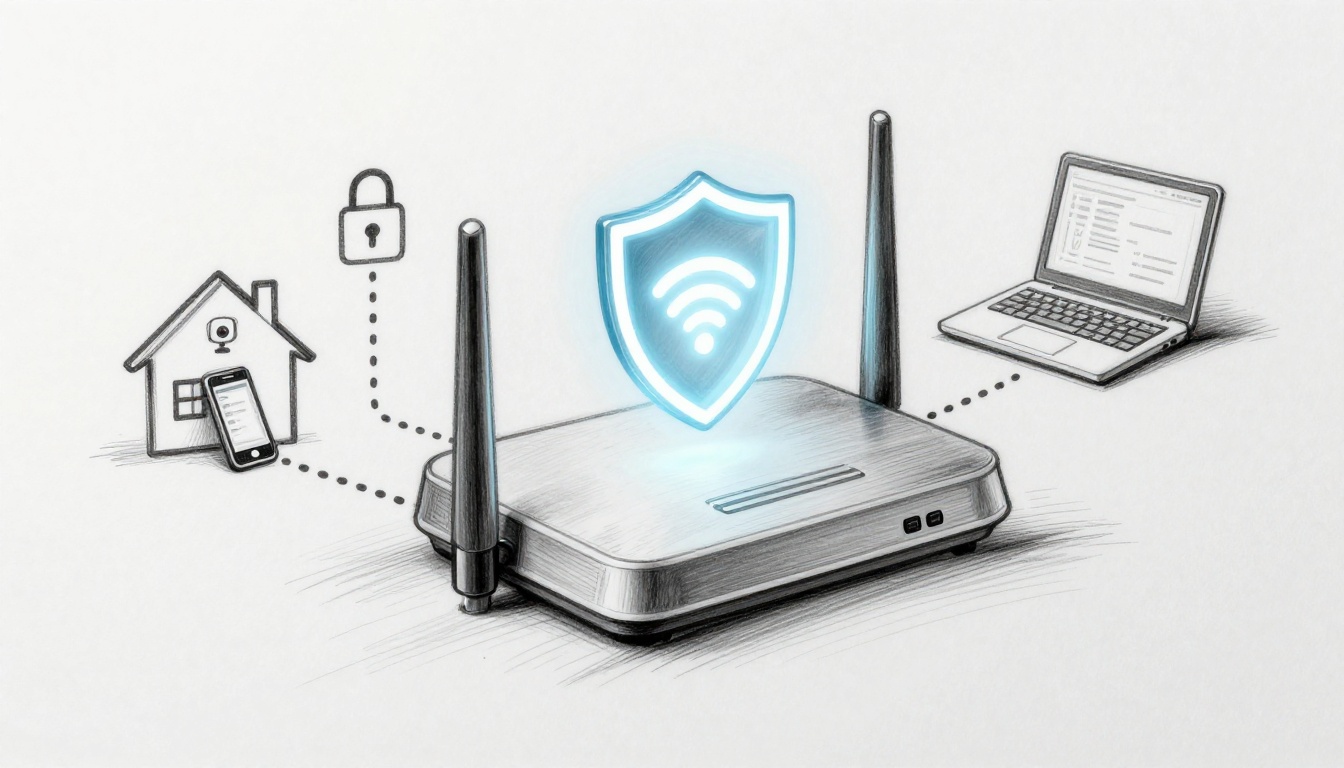
Setting up a secure guest WiFi network is your best defense against sneaky hackers.
The good news: you can build a strong guest setup in under 15 minutes on most modern routers. Start with the router basics, then create a separate guest SSID, and finally turn on device isolation so guests can’t poke around your home network.
If your router supports WPA3, that’s the gold standard for modern home Wi-Fi security. And even with WPA3, isolation still matters, because encryption alone doesn’t stop guests from trying to reach each other or your devices.
Next, you’ll see exactly why guest networking is no longer “optional,” then you’ll get a clear setup path that works for common router brands.
Why Your Home Needs a Separate Guest Network Now
Giving guests access to your main Wi-Fi feels harmless. After all, they’re just using the internet, right?
But Wi-Fi isn’t like handing someone a door key to your house. It’s more like letting them step into the same hallway as your valuables. If your network isn’t segmented, one compromised device can turn into a bigger problem.
Here’s what goes wrong most often:
- Guests bring weak devices or unsafe apps.
- Those devices can try to scan, probe, or attack other devices on the same network.
- Attackers can also use shared Wi-Fi to run man-in-the-middle tricks and data interception attempts.
Recent threat trends back this up. In 2025-2026 reporting, attackers increasingly use bots and stolen credentials. In one summary, 94% of login attempts were bot-driven, and 63% used leaked passwords. Those numbers won’t land on every home router, but they explain why “they only saw the internet” is a risky assumption.
Tools like AirSnitch-style monitors (and similar Wi-Fi visibility apps) can show suspicious traffic patterns, including attempts that look like data grabs between devices and repeated login tries. You might not catch these signals without monitoring, but isolation reduces what attackers can reach.
A guest network solves the “shared hallway” problem. It creates a walled garden for visitors, so your main network stays private.
Here are top reasons to enable guest networking:
- Full isolation keeps guests away from your computers and smart devices.
- Safe sharing means you can post a separate guest password (or use a QR code) without giving full access.
- Better performance reduces bandwidth hogs from slowing your main devices.
- Lower risk from IoT helps because guest traffic won’t mix with cameras, locks, and hubs.
- Even WPA3 needs isolation, because encryption protects data, but it doesn’t block local access attempts between devices.
If you want a real-world example of what a guest setup looks like, PCMag shares practical steps in their guide on setting up a Wi-Fi network for guests. It’s a good reference while you configure your router.
Now that you know why this matters, the next step is making sure your router base settings are solid.
Prep Your Router: Lock Down the Basics First
Think of your router like the lock on your front door. A guest network is strong, but only if the router underneath is configured right.
Start with the admin panel. Then secure the router account. After that, update firmware. Finally, enable WPA3 on your main Wi-Fi. These steps are the foundation.
Many guest Wi-Fi failures come from one simple issue: the router settings were never tightened. The setup then looks correct on the surface, but it leaves holes.
Before you touch anything, write down your current Wi-Fi name and password. Also, keep your router’s model number nearby. Most brands keep the guest settings in similar places.
Access Your Router’s Admin Panel Safely
Use a wired connection if you can. That’s not just for speed, it’s for peace of mind.
- Plug a laptop into the router using Ethernet.
- Open a browser and go to the router address (commonly 192.168.1.1 or 192.168.0.1).
- If the address doesn’t work, check the router sticker or manual.
Default logins are the fastest path for trouble. If your login is still “admin/admin,” change it before you enable guest settings.
If you get stuck, it usually comes down to one of two things. Either you used the wrong router IP, or your router uses a different login URL (some use names like tplinkwifi.net). For that moment of frustration, keep your phone handy and search the exact model number.

Update Firmware and Swap the Default Password
Now lock the door.
Go to Administration, System, or Firmware. Then check for updates. Many routers can auto-install updates, but you should still confirm them monthly.
Next, change the router admin password. Choose a long one. Aim for 16+ characters with a mix of uppercase, lowercase, numbers, and symbols. Also, avoid reusing passwords from other accounts.
Here’s a quick pattern you can trust:
- Two random words
- One year or number
- One symbol
- No reuse across accounts
For example: MaplePine#2026!Salt (not a perfect formula, just a reminder: length beats tricks).
If you want to see why WPA3 and router security go together, PCMag explains what to look for in their article about making sure your router supports WPA3. It’s a clear explainer for normal homeowners.
Enable WPA3 on Your Main Network
After updates and admin password changes, enable WPA3 on your main Wi-Fi.
In many homes, you may see options like:
- WPA3 only
- WPA2/WPA3 mixed mode
If mixed mode is the only way to keep older devices connected, that’s fine. The goal is to get as much WPA3 protection as your network can handle.
WPA3 is designed to resist brute-force attempts better than older schemes. It also improves how the handshake works when clients join your Wi-Fi.
However, don’t let WPA3 lull you. Guest isolation is still the main safety move. WPA3 protects encryption, while isolation limits who can talk to what inside your network.
Once your main Wi-Fi is secured, you’re ready for the feature that actually keeps guests out of your stuff: guest networking.
Build the Guest Network: Simple Steps for Instant Isolation
This is the part you’ll feel in real life. After setup, you can share internet access without sharing the keys to your home.
Your guest setup should do three jobs:
- Create a separate guest Wi-Fi name (SSID).
- Use strong security (WPA3 if possible).
- Block guest devices from reaching your main network and from attacking each other.
Think of it like hosting people in your living room, not letting them roam your office.
Turn On the Guest Network Option
In your router settings, look for something like:
- Guest Network
- Wi-Fi for Guests
- Secondary SSID
Enable it, then choose a guest SSID name that doesn’t reveal anything about you. Avoid your address, last name, or the main SSID. Random is better.
Also, check whether your router supports multiple guest networks. If it does, you can create “Visitors” and “Smart Home” later. For most homes, one guest network is enough.
Set a Unique Name and Rock-Solid Password
Now set the guest password. Use a separate password from your main Wi-Fi password.
Even if it feels annoying, reuse is how mistakes happen. Use something long, like 20+ characters. A password manager or generator helps here.
If your router shows an option for hidden SSID, you can enable it. Hidden names can reduce casual discovery, but don’t treat hiding as security. Isolation and strong encryption matter more.
If you’re using a TP-Link router, their guide explains how to create guest access in router settings: create a network for guests on TP-Link. The labels vary by model, but the flow is similar.
Switch On Client Isolation and Firewall
This is the real “lock” for the guest network.
Turn on client isolation (also called device isolation). That setting stops guest devices from talking to each other. It also helps limit direct access attempts to your main network, depending on router firmware.
Also look for:
- A guest firewall rule
- Access controls
- “Block access to LAN” or “Limit to internet only”
If the router offers a firewall checkbox for guest networks, enable it.
Finally, if your router supports bandwidth limits, set a cap for guests. This helps when someone streams 4K video all night. Your main devices keep steady performance.
After the setup, test it fast:
- Connect your phone to the guest Wi-Fi.
- Try to access a device you own on your main network (like a shared printer or NAS).
- If it works, isolation isn’t strong enough.

Quick warning: don’t put everything on guest Wi-Fi blindly
It’s tempting to throw smart devices onto the guest network, especially if you fear visitors will touch them.
That can work for some homes, but it can also break features like local device discovery. If you do use guest Wi-Fi for IoT, keep it consistent and test apps that rely on local access.
For normal visitors, keep it simple: guest network for internet-only access.
Once the guest network is isolated, you can add pro-level controls to handle 2026 threats.
Add Pro-Level Defenses Against 2026 Threats
Guest networks help a lot. Still, some routers treat guest mode differently. Some isolate nicely. Others only partially separate traffic.
So aim for stronger segmentation and fewer attack paths. That’s how you handle “sneaky” Wi-Fi attacks that try to slip past weak defaults.
Also, note something important: not every home router supports advanced security features. If your router doesn’t show these options, don’t panic. You’re still better off with guest isolation and WPA3 than without them.
Use VLANs to Build an Iron Wall
If your router or mesh system supports VLANs, you can separate guest traffic more reliably than basic guest settings.
VLANs let you place guest devices into a separate network segment, then enforce firewall rules between segments. That reduces the chance of accidental cross-talk.
If you run gear like UniFi, guest setup often includes built-in isolation rules. Here’s a practical guide that matches the same idea: how to create a UniFi guest network.
Even if you don’t use UniFi, it helps you understand the concepts:
- separate network segment
- isolation rules
- internet-only permissions

Shut Down Risky Features Like WPS
WPS is convenient, but it creates avoidable risk. If a router offers it, disable WPS.
Also check for:
- UPnP (turn off unless you truly need it)
- Remote management (disable access from the internet)
- Telnet/FTP services (disable them)
These features exist for setup ease. However, they can also reduce your security margin when something goes wrong.
Fight Back Against Sneaky Attacks
For the less common attacks, the router features matter.
Look for settings like:
- DHCP snooping
- Dynamic ARP inspection (DAI)
- MAC filtering (not as security by itself, but sometimes helps with noisy networks)
- “Block rogue DHCP servers”
If you see these options, enable them. They help stop devices from pretending to be a trusted service on your network.
If you don’t see them, you can still improve safety by doing three simple things:
- keep firmware updated
- use WPA3 on main Wi-Fi
- maintain guest isolation and firewall rules
You can also monitor connected devices in the router dashboard weekly. If you see devices you don’t recognize, remove access and change the guest password.
Steer Clear of These Common Setup Traps
It’s easy to set up guest Wi-Fi and assume you’re done. Then one overlooked toggle ruins the whole point.
Here are the most common traps that show up in real homes:
- Reusing the main Wi-Fi password for guests
- Leaving client isolation off
- Skimping on WPA3 and staying on weak modes
- Using guest Wi-Fi for everything without testing apps
- Never updating firmware
- Not checking connected devices after guests arrive
If you want a quick “spot the mistakes” view, XDA has a helpful roundup of what people mess up in guest network setups: common mistakes in guest Wi-Fi setup.
Also, treat guest networking like cooking. You can’t skip the taste test. You need to verify access boundaries after the change.
Do a simple test:
- Connect phone to guest Wi-Fi.
- Try to reach a device on your main network.
- If you can, your guest isolation needs adjusting.

Here’s a fast checklist you can follow in five minutes:
- Guest Wi-Fi enabled
- WPA3 (or WPA2/WPA3 mixed) enabled
- Guest password is unique
- Client isolation is on
- Guest firewall or “internet only” is on
- Main router admin password is changed
- Firmware is updated
If you do only one thing today, make it the isolation toggle. That’s where most real protection comes from.
Conclusion
That original worry, the one about visitors seeing too much, has a simple fix. A secure guest network keeps guests online while protecting your files, printers, and cameras.
Start by locking down your router basics, then build a guest SSID with WPA3 and strong isolation rules. Add VLANs only if your gear supports it, and disable risky extras like WPS when you can.
After all, the best defense against sneaky hackers isn’t luck. It’s a network layout that quietly blocks bad paths.
If you’re ready, set it up today. Try connecting your phone to guest Wi-Fi and confirm it can’t reach your main devices. Then share what router model you have and whether your guest isolation worked, in the comments.